Getting Started
When I learned I had a month for this project, I decided to tackle a demo I’d been wanting to make for a while. With such a tight timeline, careful planning was crucial - I had to be strategic about where to invest time and where to cut corners without compromising quality.
From Concept to Model
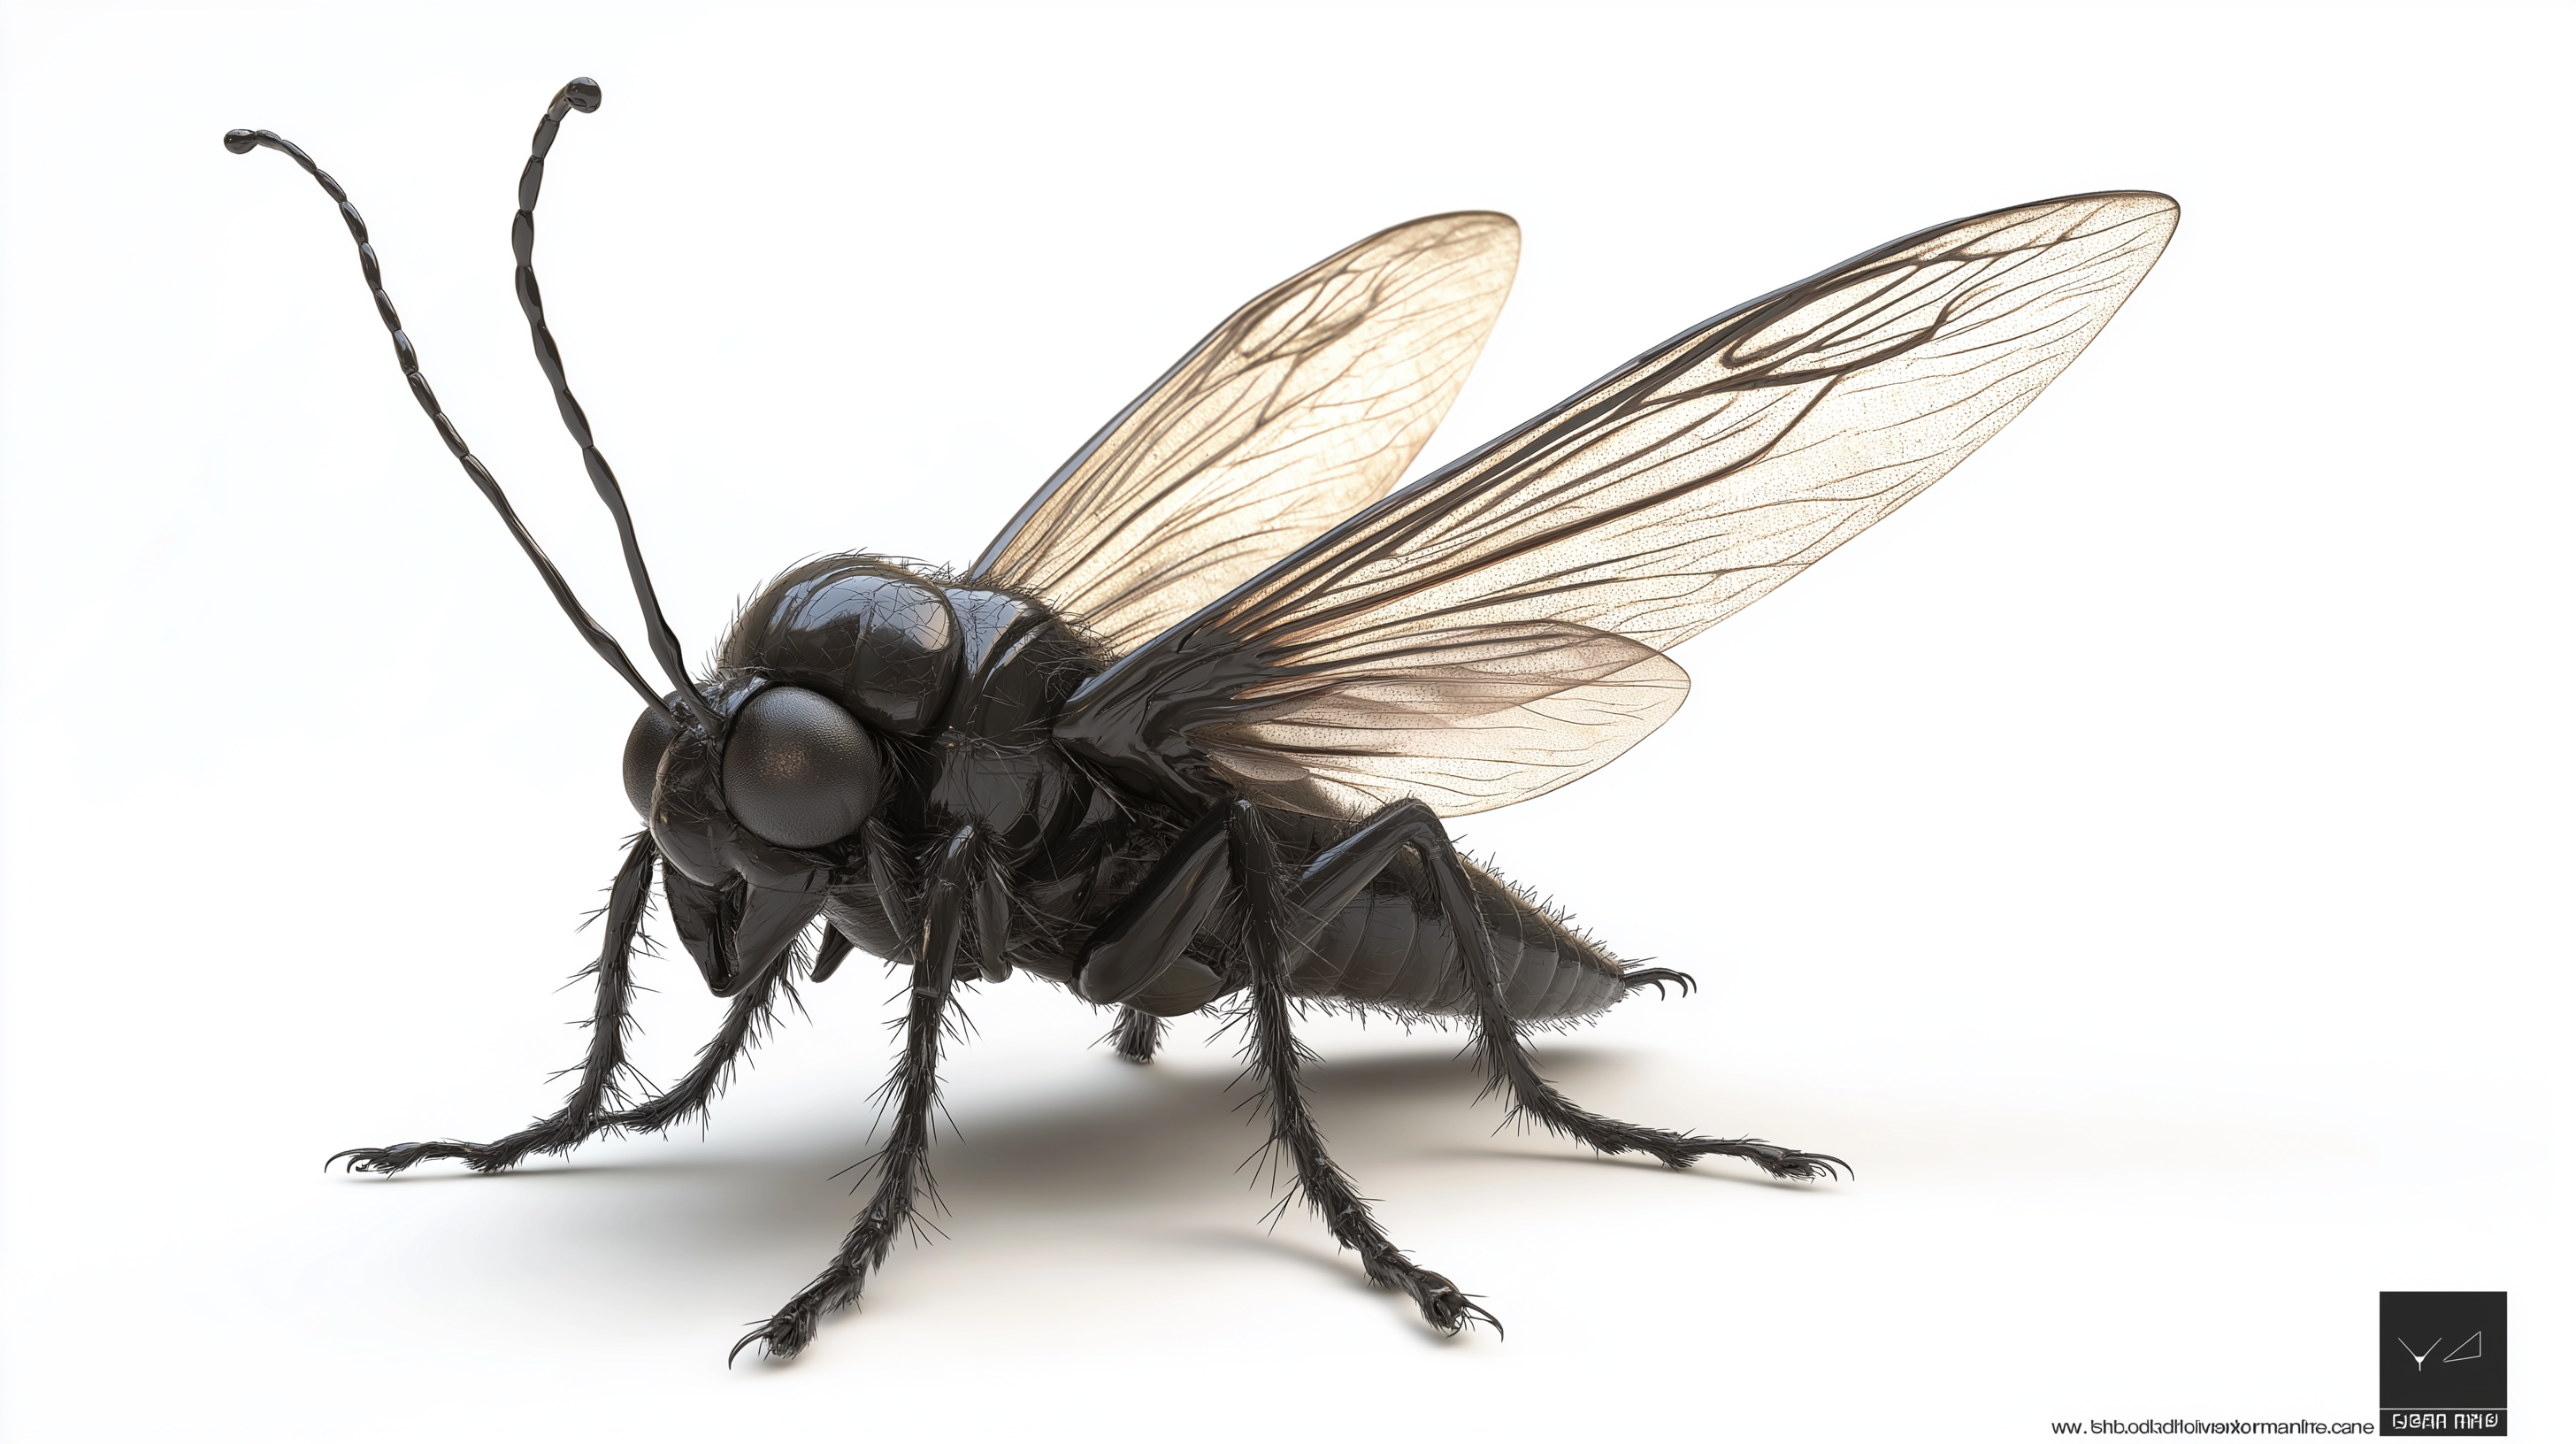 I started by generating an insect concept in Midjourney - something fly-like but with its own character.
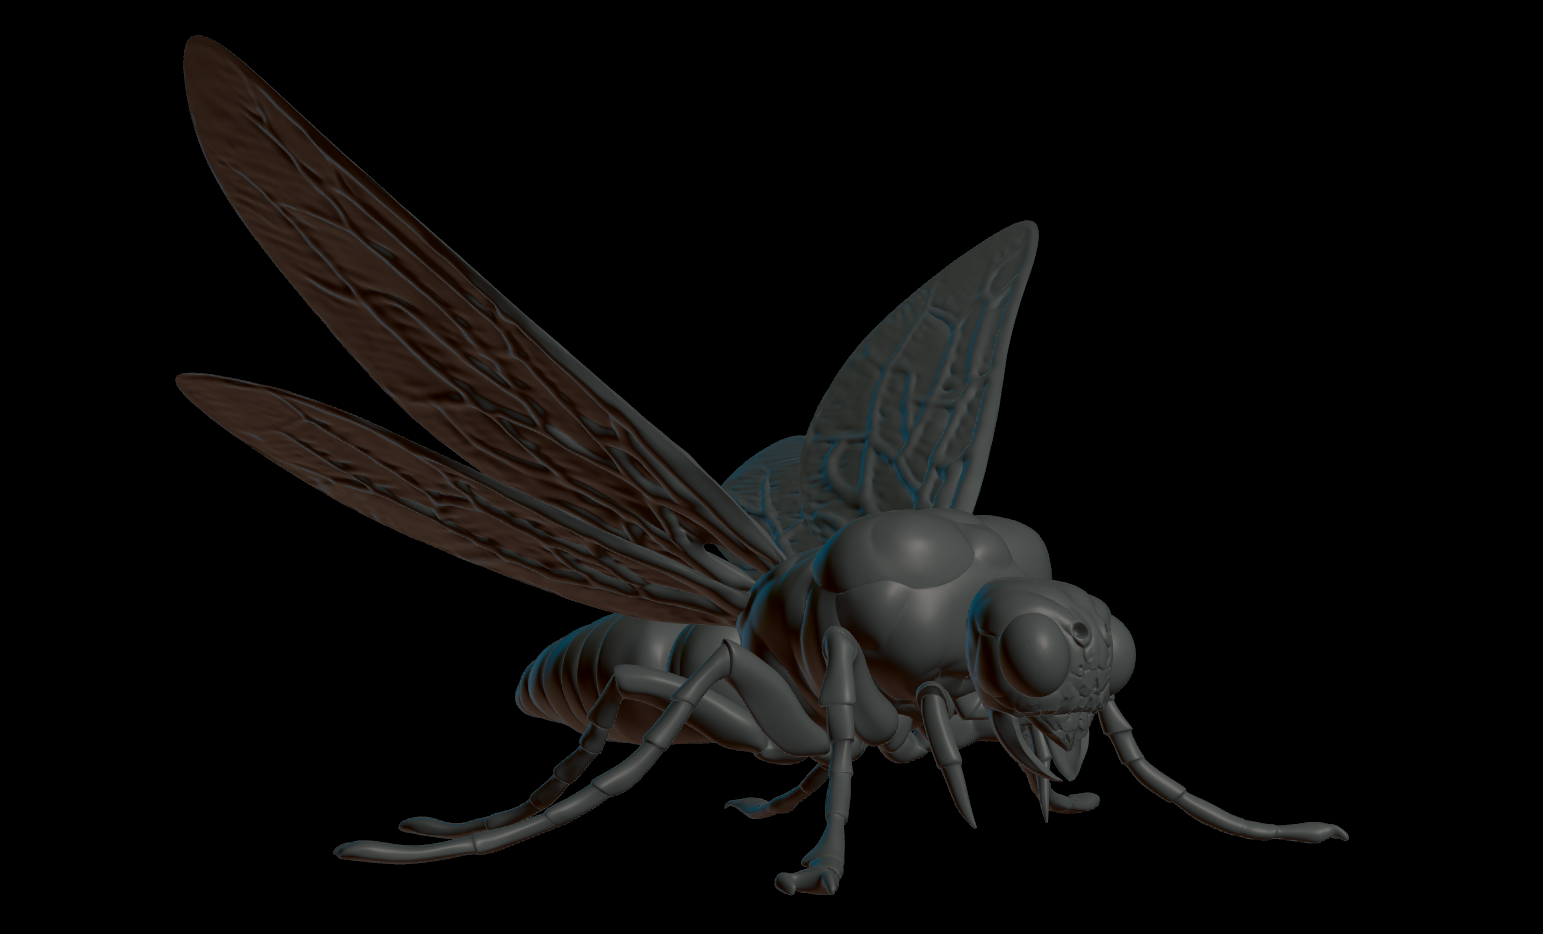
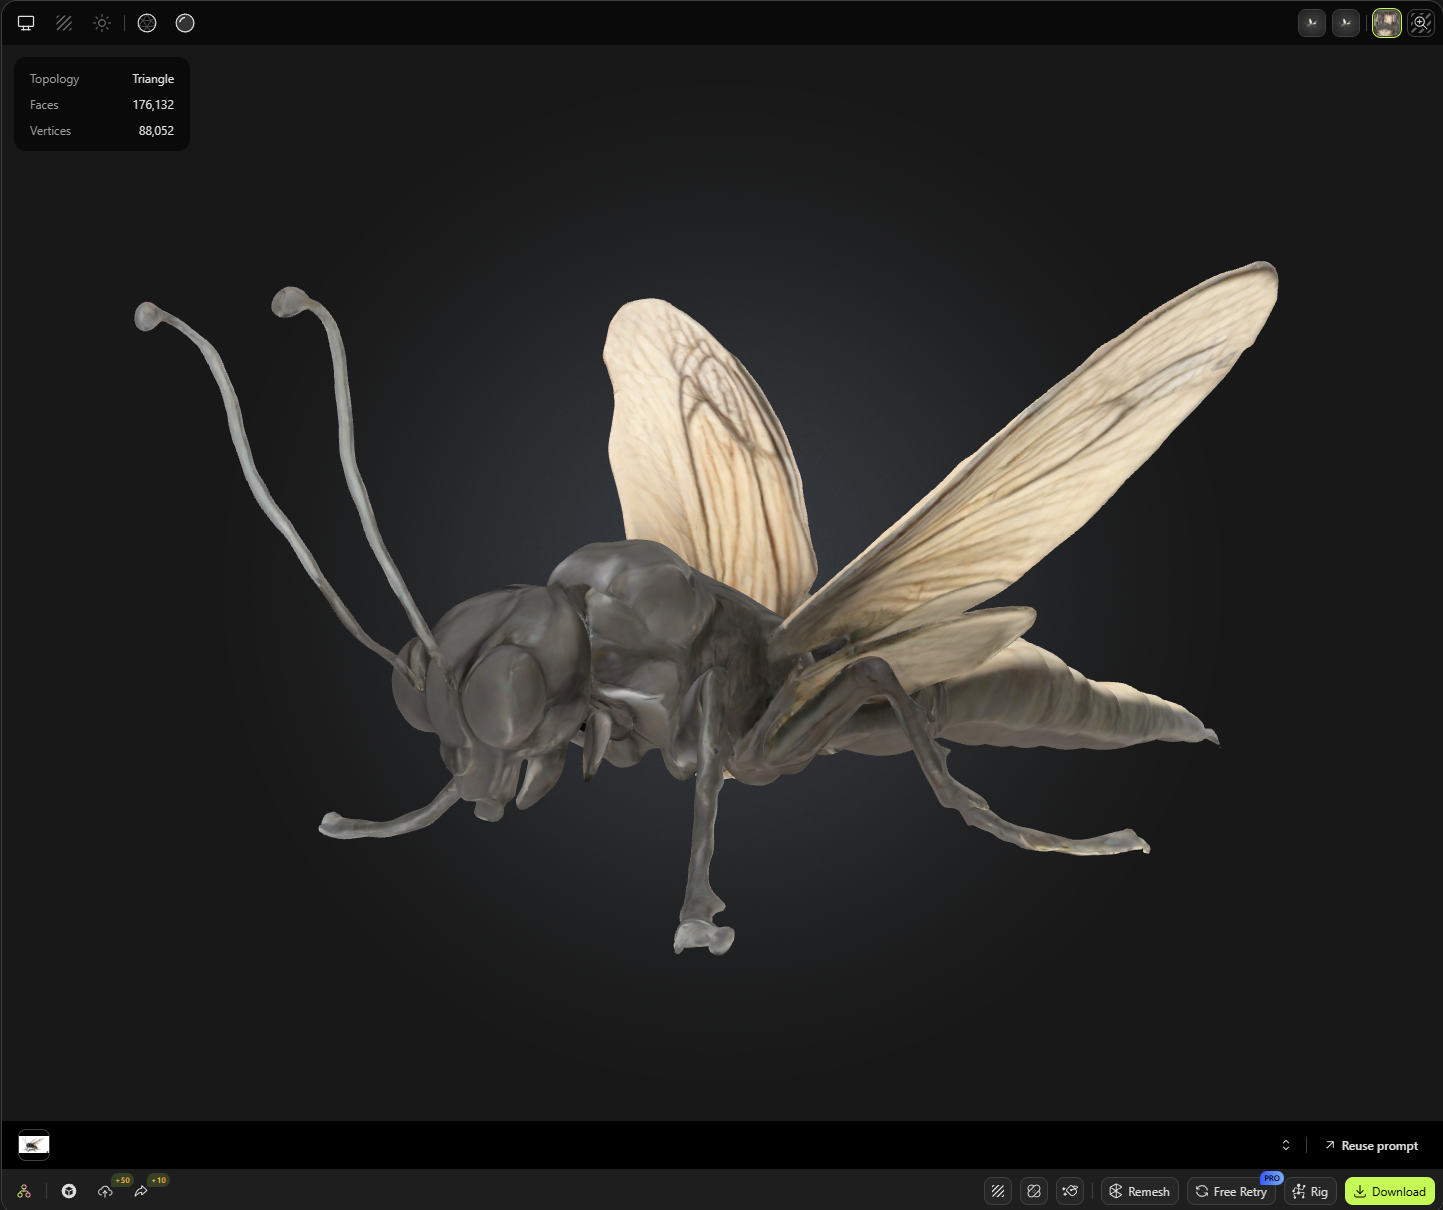 Using an online 2D-to-3D conversion service gave me a basic mesh to work with. While the initial result was far from perfect, it provided a good foundation.
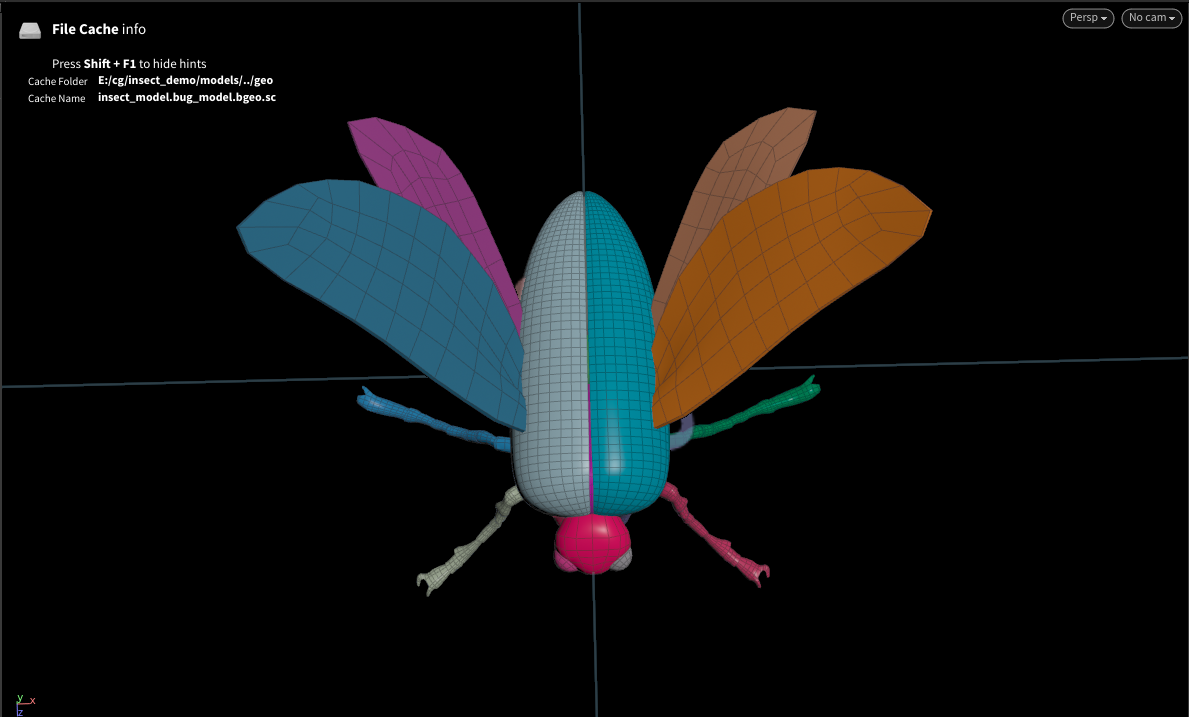 I spent about two days creating a clean model - retopology, UV mapping, and basic preparation. Rather than getting caught up in texturing at this stage, I moved straight to animation.
Bringing the Insect to Life
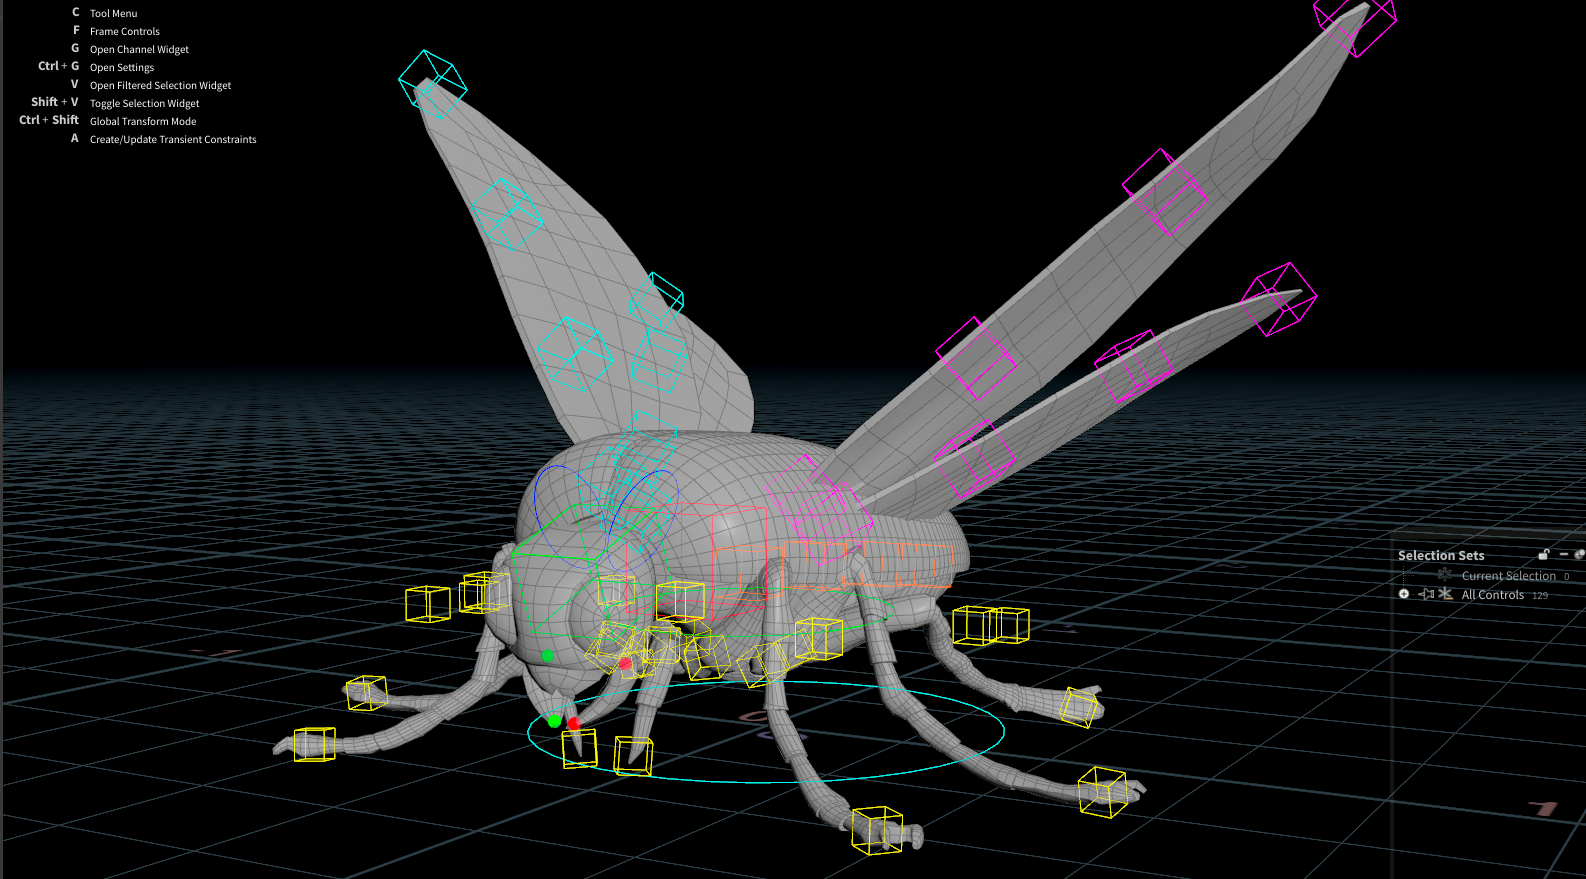 The next step was rigging using APEX and KineFX, which took another day. I created a base 96-frame animation covering all essential movements:
- Closed resting state
- Opening sequence
- Wing deployment
- Wing flapping
- Walking
- Take-off
These basic animations became the building blocks for all the states used in the swarm simulation.

Simulation Magic
One of the most entertaining parts of the project was working with various simulation approaches.
 I used Vellum softbody for the test geometry, which added a layer of comedy to how these shapes deform and mutate. Watching the pig head jumps and transforms into Squab had me genuinely laughing during development.
 The swarm simulations themselves were quite complex, often requiring multiple stages. For transformations between shapes (whether through jumping or morphing), I had to run two separate simulations. The first would start from the end shape, breaking apart and flying toward the starting point, then reversing. The second simulation would run from start to finish, using the first simulation as a target to guide the insects’ movement.
Texturing
 When all simulations were completed and I had an understanding of the time I had to complete the project, I planned the shading and texturing stage. Since I didn’t have much time for it, I made only one iteration with quite basic approaches. It works well for swarm, but not exactly for closeups.
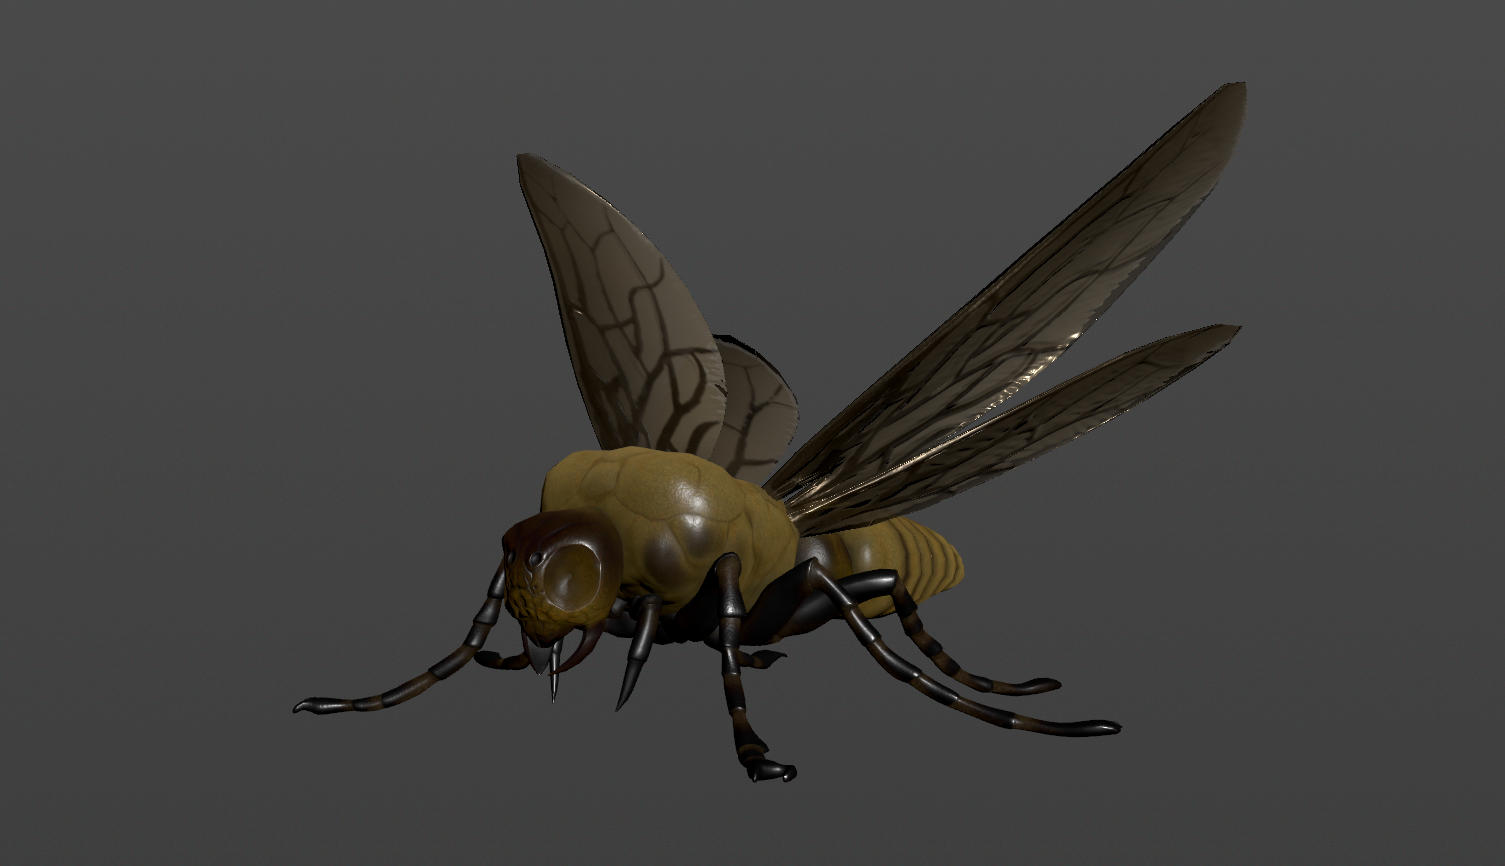 Base shape transition to swarm was made using Copernicus and just applied baked textures in shaders.
Camera Tricks and Happy Accidents
One particularly satisfying sequence emerged from an interesting camera setup. For the looping fly transformation, I aligned the camera to match the perspective of both the starting and ending fly shapes, just at different scales. This created an infinite loop effect where the camera continuously pans left, following a running fly that eventually joins a swarm, which then forms into a new fly, and the cycle continues. It’s these kinds of happy technical discoveries that make projects like this exciting.
 During development, I also stumbled upon the idea of mounting the camera to one of the insects, allowing viewers to experience the transformations from within the swarm. This first-person perspective added an entirely new dimension to the piece, creating some of my favorite moments in the final demo.
Technical Approach
In my previous research, I had used Mantra with packed disk sequences. However, for this project, I decided to rethink the approach using USD, and the results exceeded my expectations. The new solution proved far more efficient.
 Each insect consists of three parts (body, wings, legs). Instead of storing complete information for each copy, the system uses references with topology information prototypes for instancing are just additional layer with only essential data - positions and velocities. Then each frame of original sequence was mapped to one of this prototypes. This led to impressive performance gains.
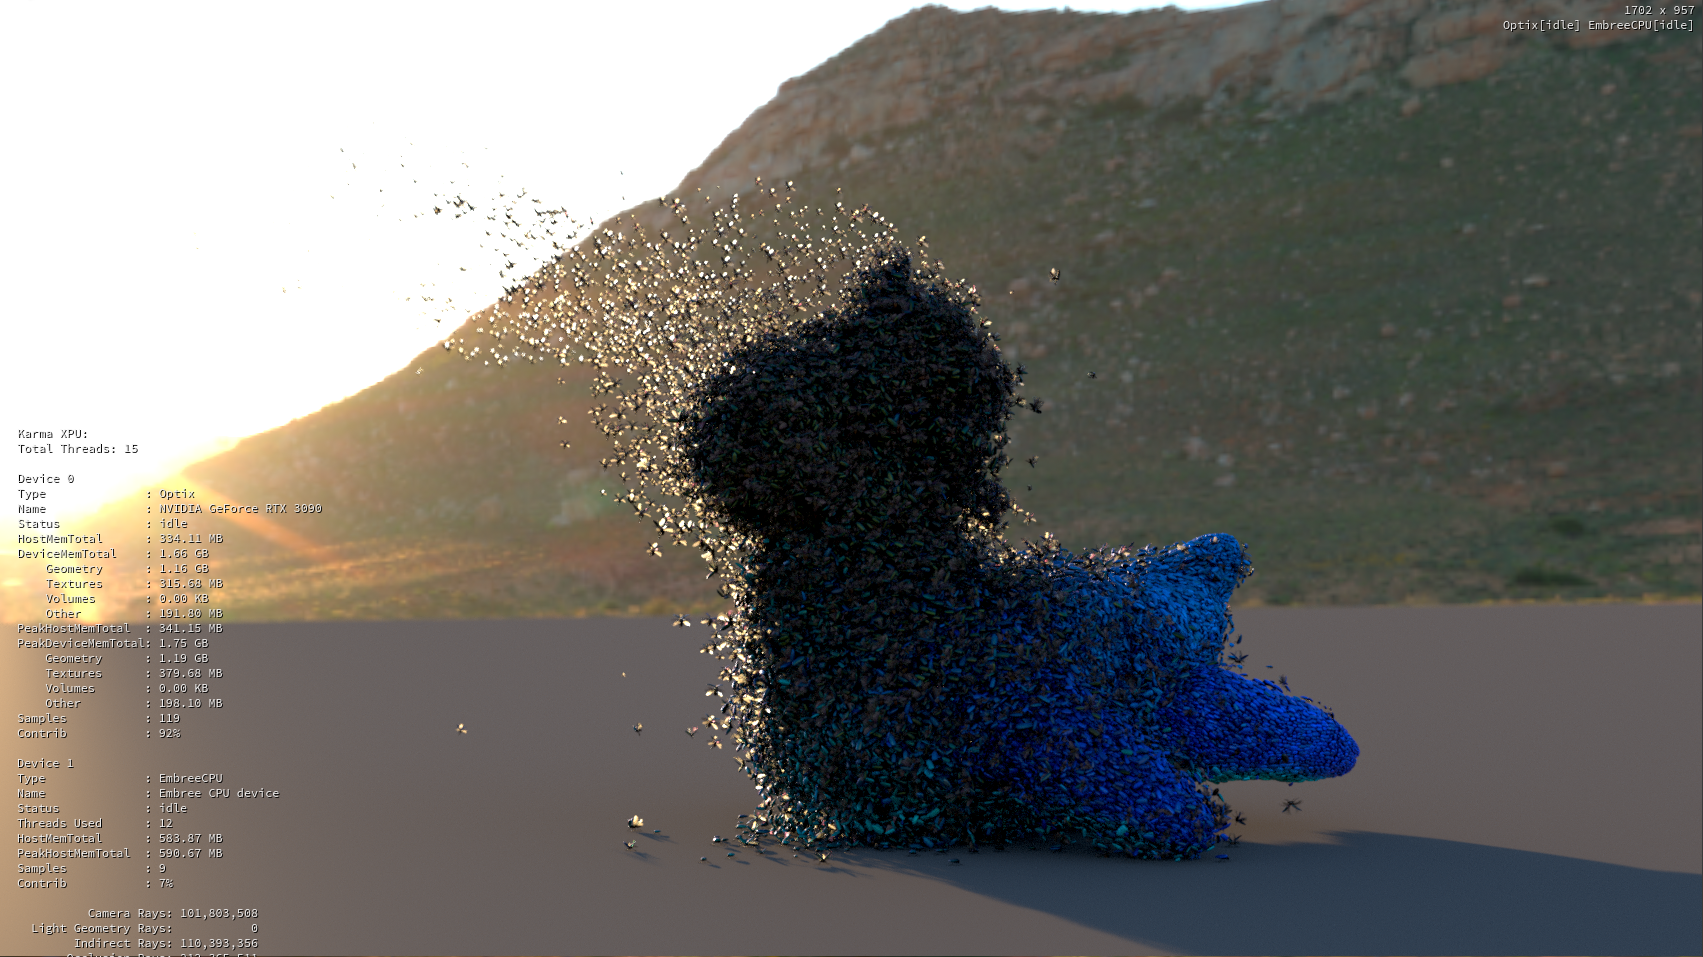
Scale and Performance
Peak scenes feature about 1,000,000 insects simultaneously. On my RTX 3090, this consumes approximately 6-7 GB of memory for 2560x1440 renders - quite impressive for such a large number of objects. Interestingly, most memory usage comes from the rendering process itself rather than the geometry data.
Final Rendering
The entire rendering process took less than a week, which was quite satisfying. I used my main computer for rendering the insects while simultaneously calculating ground and shadows on a laptop. Despite having to redo some shots, the overall timeline remained reasonable.
The Final Result
While I initially had more ambitious plans, time constraints forced me to scale back somewhat. However, the result turned out to be surprisingly engaging, especially in terms of visual concept. The decision to use standard Houdini test models - the pig head and rubber toy - as transformation targets added an unexpected dimension to the project. When the swarm, inherently unsettling, morphs through flight into these playful shapes, it creates a fascinating contrast between the eerie and the comical. This metamorphosis of the swarm into recognizable but contextually absurd objects creates a surreal, almost absurdist effect that I particularly love.